Tiger Cloud: Performance, Scale, Enterprise
Self-hosted products
MST
Modern development is highly iterative. Developers and AI agents need safe spaces to test changes before deploying them to production. Forkable services make this natural and easy. Spin up a branch, run your test, throw it away, or merge it back.
A fork is an exact copy of a service at a specific point in time, with its own independent data and configuration, including:
- The database data and schema
- Configuration
- An admin
tsdbadminuser with a new password
Forks are fully independent. Changes to the fork don't affect the parent service. You can query them, run migrations, add indexes, or test new features against the fork without affecting the original service.
Forks are a powerful way to share production-scale data safely. Testing, BI and data science teams often need access to real datasets to build models or generate insights. With forkable services, you easily create fast, zero-copy branches of a production service that are isolated from production, but contain all the data needed for analysis. Rapid fork creation dramatically reduces friction getting insights from live data.
You can use service forks for disaster recovery, CI/CD automation, and testing and development. For example, you can automatically test a major Postgres upgrade on a fork before applying it to your production service.
Tiger Cloud offers the following fork strategies:
now: create a fresh fork of your database at the current time. Use when:- You need the absolute latest data
- Recent changes must be included in the fork
last-snapshot: fork from the most recent automatic backup or snapshot. Use when:- You want the fastest possible fork creation
- Slightly behind current data is acceptable
timestamp: fork from a specific point in time within your [retention period][pricing]. Use when:- Disaster recovery from a known-good state
- Investigating issues that occurred at a specific time
- Testing "what-if" scenarios from historical data
The retention period for point-in-time recovery and forking depends on your pricing plan.
Fork creation speed depends on your type of service you want to create:
- Free: ~30-90 seconds. Uses a Copy-on-Write storage architecture with zero-copy between a fork and the parent.
- Paid: varies with the size of your service, typically 5-20+ minutes. Uses tradional storage architecture with backup restore + WAL replay.
You can fork a free service to a free or a paid service. However, you cannot fork a paid service to a free service.
Billing on storage works in the following way:
- High-performance storage:
- Copy-on-Write: you are only billed for storage for the chunks that diverge from the parent service.
- Traditional: you are billed for storage for the whole service.
- Object storage tier:
- Tiered data is shared across forks using copy-on-write and traditional storage:
- Chunks in tiered storage are only billed once, regardless of the number of forks
- Only new or modified chunks in a fork incur additional costs
For details, see Replicas and forks with tiered data.
To follow the steps on this page:
Create a target Tiger Cloud service with the Real-time analytics capability.
You need your connection details. This procedure also works for self-hosted TimescaleDB.
To manage development forks:
Install Tiger CLI
Use the terminal to install the CLI:
Set up API credentials
Log Tiger CLI into your Tiger Cloud account:
tiger auth loginTiger CLI opens Console in your browser. Log in, then click
Authorize.You can have a maximum of 10 active client credentials. If you get an error, open credentials
 and delete an unused credential.
 Select a Tiger Cloud project:
Auth URL is: https://console.cloud.timescale.com/oauth/authorize?client_id=lotsOfURLstuffOpening browser for authentication...Select a project:> 1. Tiger Project (tgrproject)2. YourCompany (Company wide project) (cpnproject)3. YourCompany Department (dptproject)Use ↑/↓ arrows or number keys to navigate, enter to select, q to quitIf only one project is associated with your account, this step is not shown.
Where possible, Tiger CLI stores your authentication information in the system keychain/credential manager. If that fails, the credentials are stored in
~/.config/tiger/credentialswith restricted file permissions (600). By default, Tiger CLI stores your configuration in~/.config/tiger/config.yaml.
Test your authenticated connection to Tiger Cloud by listing services
tiger service listThis call returns something like:
No services:
🏜️ No services found! Your project is looking a bit empty.🚀 Ready to get started? Create your first service with: tiger service createOne or more services:
┌────────────┬─────────────────────┬────────┬─────────────┬──────────────┬──────────────────┐│ SERVICE ID │ NAME │ STATUS │ TYPE │ REGION │ CREATED │├────────────┼─────────────────────┼────────┼─────────────┼──────────────┼──────────────────┤│ tgrservice │ tiger-agent-service │ READY │ TIMESCALEDB │ eu-central-1 │ 2025-09-25 16:09 │└────────────┴─────────────────────┴────────┴─────────────┴──────────────┴──────────────────┘
Fork the service
tiger service fork tgrservice --now --no-wait --name bobBy default a fork matches the resource of the parent Tiger Cloud services. For paid plans specify
--cpuand/or--memoryfor dedicated resources.You see something like:
🍴 Forking service 'tgrservice' to create 'bob' at current state...✅ Fork request accepted!📋 New Service ID: <service_id>🔐 Password saved to system keyring for automatic authentication🎯 Set service '<service_id>' as default service.⏳ Service is being forked. Use 'tiger service list' to check status.┌───────────────────┬──────────────────────────────────────────────────────────────────────────────────────────────────┐│ PROPERTY │ VALUE │├───────────────────┼──────────────────────────────────────────────────────────────────────────────────────────────────┤│ Service ID │ <service_id> ││ Name │ bob ││ Status │ ││ Type │ TIMESCALEDB ││ Region │ eu-central-1 ││ CPU │ 0.5 cores (500m) ││ Memory │ 2 GB ││ Direct Endpoint │ <service-id>.<project-id>.tsdb.cloud.timescale.com:<port> ││ Created │ 2025-10-08 13:58:07 UTC ││ Connection String │ postgresql://tsdbadmin@<service-id>.<project-id>.tsdb.cloud.timescale.com:<port>/tsdb?sslmode=require │└───────────────────┴──────────────────────────────────────────────────────────────────────────────────────────────────┘When you are done, delete your forked service
Use the CLI to request service delete:
tiger service delete <service_id>Validate the service delete:
Are you sure you want to delete service '<service_id>'? This operation cannot be undone.Type the service ID '<service_id>' to confirm:<service_id>You see something like:
🗑️ Delete request accepted for service '<service_id>'.✅ Service '<service_id>' has been successfully deleted.
To manage development forks:
In Tiger Cloud Console
, from the Serviceslist, ensure the service you want to recover has a status ofRunningorPaused.Navigate to
Operations>Service Managementand clickFork service.Configure the fork, then click
Fork service.A fork of the service is created. The forked service shows in
Serviceswith a label specifying which service it has been forked from.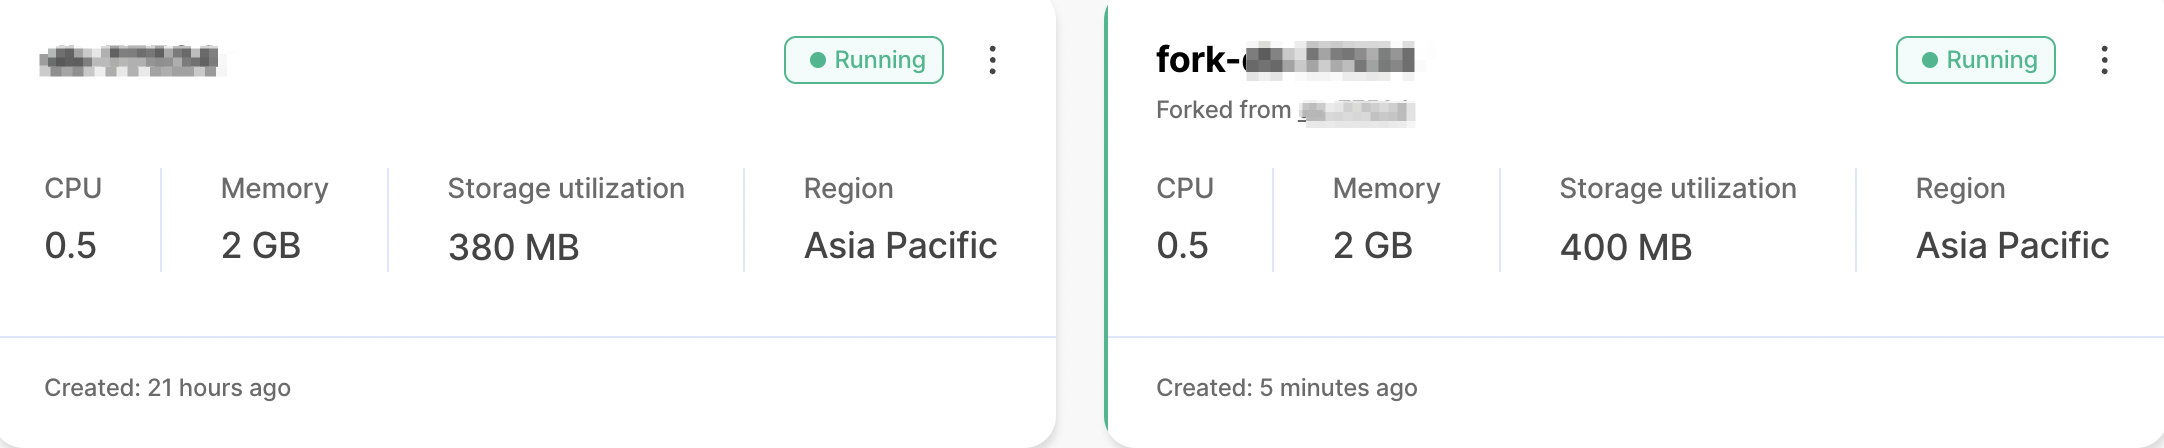
Update the connection strings in your app to use the fork.
To fork your Tiger Cloud service using GitHub actions:
Store your Tiger Cloud API key as a GitHub Actions secret
- In Tiger Cloud Console, click
Create credentials. - Save the
Public keyandSecret keylocally, then clickDone. - In your GitHub repository, click
Settings, openSecrets and variables, then clickActions. - Click
New repository secret, then setNametoTIGERDATA_API_KEY - Set
Secretto your Tiger Cloud API key in the following format<Public key>:<Secret key>, then clickAdd secret.
- In Tiger Cloud Console
Add the GitHub Actions Marketplace
to your workflow YAML filesFor example, the following workflow forks a service when a pull request is opened, running tests against the fork, then automatically cleans up.
name: Test on a service forkon: pull_requestjobs:test:runs-on: ubuntu-lateststeps:- uses: actions/checkout@v4- name: Fork Databaseid: forkuses: timescale/fork-service@v1with:project_id: ${{ secrets.TIGERDATA_PROJECT_ID }}service_id: ${{ secrets.TIGERDATA_SERVICE_ID }}api_key: ${{ secrets.TIGERDATA_API_KEY }}fork_strategy: last-snapshotcleanup: truename: pr-${{ github.event.pull_request.number }}- name: Run Integration Testsenv:DATABASE_URL: postgresql://tsdbadmin:${{ steps.fork.outputs.initial_password }}@${{ steps.fork.outputs.host }}:${{ steps.fork.outputs.port }}/tsdb?sslmode=requirerun: |npm installnpm test- name: Run Migrationsenv:DATABASE_URL: postgresql://tsdbadmin:${{ steps.fork.outputs.initial_password }}@${{ steps.fork.outputs.host }}:${{ steps.fork.outputs.port }}/tsdb?sslmode=requirerun: npm run migrateFor the full list of inputs, outputs, and configuration options, see the Tiger Data - Fork Service
in GitHub marketplace.
Keywords
Found an issue on this page?Report an issue![]() or Edit this page
or Edit this page![]() in GitHub.
in GitHub.