Tiger Cloud: Performance, Scale, Enterprise, Free
Self-hosted products
MST
In the Service management section of the Operations dashboard, you can fork
your service, reset the password, pause, or delete the service.
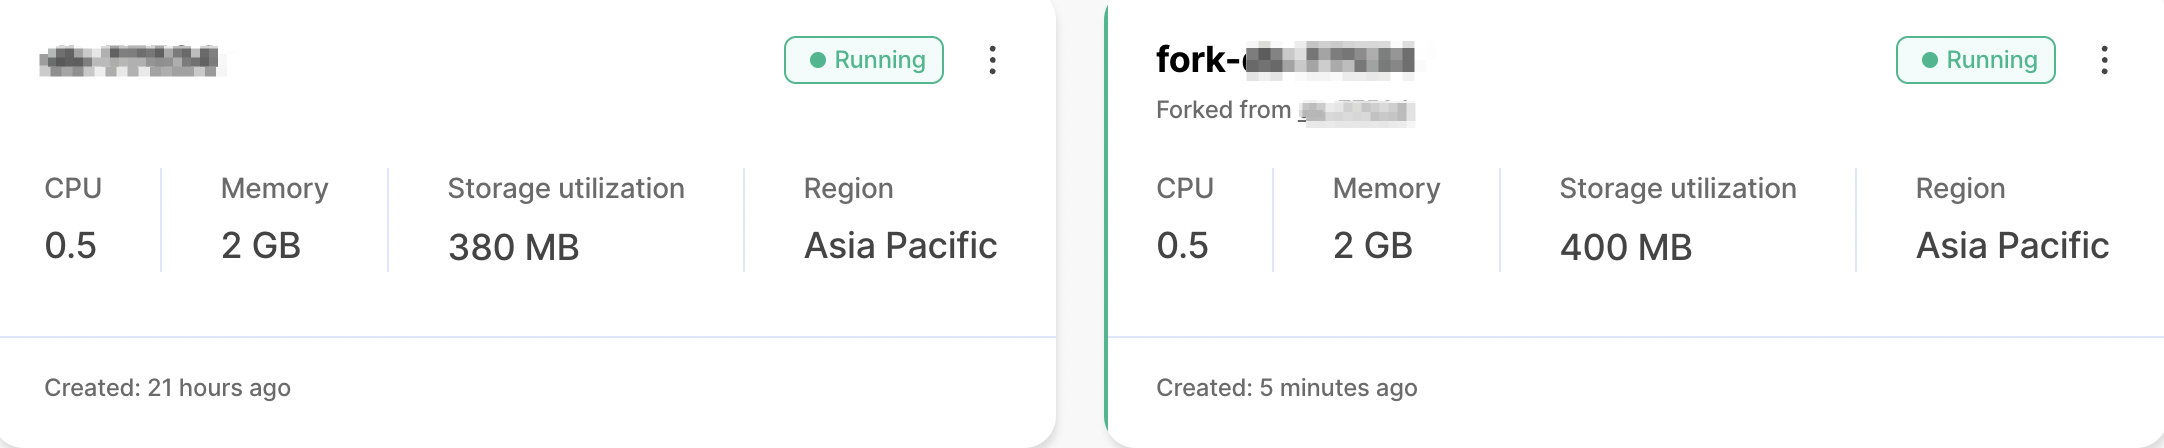
When you a fork a service, you create its exact copy including
the underlying database. This allows you to create a copy that you can use for
testing purposes, or to prepare for a major version upgrade. The only difference
between the original and the forked service is that the tsdbadmin user has a
different password.
The fork is created by restoring from backup and applying the write-ahead log. The data is fetched from Amazon S3, so forking doesn't tax the running instance.

Important
You can fork services that have a status of Running or Paused. You cannot
fork services while they have a status of In progress. Wait for the service to
complete the transition before you start forking.

Warning
Forks only have data up to the point when the original service was forked. Any data written to the original service after the time of forking does not appear in the fork. If you want the fork to assume operations from the original service, pause your main service before forking to avoid any data discrepancy between services.
- In Tiger Cloud Console, from the
Serviceslist, ensure the service you want to form has a status ofRunningorPaused, then click the name of the service you want to fork. - Navigate to the
Operationstab. - In the
Service managementsection, clickFork service. In the dialog, confirm by clickingFork service. The forked service takes a few minutes to start. - OptionalTo change the configuration of your fork, click
Advanced options. You can set different compute and storage options, separate from your original service. - Confirm by clicking
Fork service. The forked service takes a few minutes to start. - The forked service shows in the
Servicesdashboard with a label stating which service it has been forked from.
To manage development forks:
Install Tiger CLI
Use the terminal to install the CLI:
Set up API credentials
Log Tiger CLI into your Tiger Cloud account:
tiger auth loginTiger CLI opens Console in your browser. Log in, then click
Authorize.You can have a maximum of 10 active client credentials. If you get an error, open credentials
 and delete an unused credential.
 Select a Tiger Cloud project:
Auth URL is: https://console.cloud.timescale.com/oauth/authorize?client_id=lotsOfURLstuffOpening browser for authentication...Select a project:> 1. Tiger Project (tgrproject)2. YourCompany (Company wide project) (cpnproject)3. YourCompany Department (dptproject)Use ↑/↓ arrows or number keys to navigate, enter to select, q to quitIf only one project is associated with your account, this step is not shown.
Where possible, Tiger CLI stores your authentication information in the system keychain/credential manager. If that fails, the credentials are stored in
~/.config/tiger/credentialswith restricted file permissions (600). By default, Tiger CLI stores your configuration in~/.config/tiger/config.yaml.
Test your authenticated connection to Tiger Cloud by listing services
tiger service listThis call returns something like:
No services:
🏜️ No services found! Your project is looking a bit empty.🚀 Ready to get started? Create your first service with: tiger service createOne or more services:
┌────────────┬─────────────────────┬────────┬─────────────┬──────────────┬──────────────────┐│ SERVICE ID │ NAME │ STATUS │ TYPE │ REGION │ CREATED │├────────────┼─────────────────────┼────────┼─────────────┼──────────────┼──────────────────┤│ tgrservice │ tiger-agent-service │ READY │ TIMESCALEDB │ eu-central-1 │ 2025-09-25 16:09 │└────────────┴─────────────────────┴────────┴─────────────┴──────────────┴──────────────────┘
Fork the service
tiger service fork tgrservice --now --no-wait --name bobBy default a fork matches the resource of the parent Tiger Cloud services. For paid plans specify
--cpuand/or--memoryfor dedicated resources.You see something like:
🍴 Forking service 'tgrservice' to create 'bob' at current state...✅ Fork request accepted!📋 New Service ID: <service_id>🔐 Password saved to system keyring for automatic authentication🎯 Set service '<service_id>' as default service.⏳ Service is being forked. Use 'tiger service list' to check status.┌───────────────────┬──────────────────────────────────────────────────────────────────────────────────────────────────┐│ PROPERTY │ VALUE │├───────────────────┼──────────────────────────────────────────────────────────────────────────────────────────────────┤│ Service ID │ <service_id> ││ Name │ bob ││ Status │ ││ Type │ TIMESCALEDB ││ Region │ eu-central-1 ││ CPU │ 0.5 cores (500m) ││ Memory │ 2 GB ││ Direct Endpoint │ <service-id>.<project-id>.tsdb.cloud.timescale.com:<port> ││ Created │ 2025-10-08 13:58:07 UTC ││ Connection String │ postgresql://tsdbadmin@<service-id>.<project-id>.tsdb.cloud.timescale.com:<port>/tsdb?sslmode=require │└───────────────────┴──────────────────────────────────────────────────────────────────────────────────────────────────┘When you are done, delete your forked service
Use the CLI to request service delete:
tiger service delete <service_id>Validate the service delete:
Are you sure you want to delete service '<service_id>'? This operation cannot be undone.Type the service ID '<service_id>' to confirm:<service_id>You see something like:
🗑️ Delete request accepted for service '<service_id>'.✅ Service '<service_id>' has been successfully deleted.
You can reset your service password from the Operations dashboard. This is the
password you use to connect to your service, not the password for Tiger Cloud Console. To reset your Console password, navigate to the Account page.
When you reset your service password, you are prompted for your Console password. When you have authenticated, you can create a new service password, ask Console to auto-generate a password, or switch your authentication type between SCRAM and MD5.
SCRAM (salted challenge response authentication mechanism) and MD5 (message digest algorithm 5) are cryptographic authentication mechanisms. Tiger Cloud Console uses SCRAM by default. It is more secure and strongly recommended. The MD5 option is provided for compatibility with older clients.
In Tiger Cloud, you create services for the following environments:
- Development services: for less demanding tasks, such as ad hoc analytics, testing, or application building. Development services have no delete protection.
- Production services: for mission-critical applications like client-facing dashboards or APIs. Production services have delete protection.
Tiger Cloud applies upgrades differently to development and production services.
To change the environment of an existing service:
- In Tiger Cloud Console, select the service to update.
- Click
Operations>Environment, then change the tag underChange service environment.
You can pause a service if you want to stop it running temporarily. When you pause a service, you are no longer billed for compute resources. However, you do need to continue paying for any storage you are using. Pausing a service ensures that it is still available, and is ready to be restarted at any time.
You can delete a service to remove it completely. This removes the service and its underlying data from the server. You cannot recover a deleted service.
Keywords
Found an issue on this page?Report an issue![]() or Edit this page
or Edit this page![]() in GitHub.
in GitHub.